

This is my new baby brother Quinten Alexander. Poor thing has had a camera in his face since day one. Haha! I had plenty of snapshots, but I wanted some pro photo shoot looking pictures. So I whipped this up. It can be done with an array of colored backgrounds. The props and positions are almost endless.

Set your aperture, if you are able, to 5.0 or smaller. that way the background is blurred.
I had my camera on aperture priority setting. That way, I didn't have to worry about shutter speed.

Baby's are so cute and cuddly. We all wish we could keep them small, warm and cute forever...
Since we can't, pictures are the next best way to capture those fleeting moments. :)
Till next time
Bre
So I decided to take a break from rehashing my summer and share one of my favorite nail art ideas.


I do have to admit I go my idea off of Pinterest.
My secret to nail art isn't some fancy brushes or stencils. It's toothpicks! Yep! So to get this look I used an orangish red as my base. At the cuticle of my nail I started making a triangle, blue, red, yellow, then green. After that dries, I put a lot of little ovals, like polka dots, over the green stripe . On the top I did he same; but I made a half circle instead of a triangle. On the sides I made little white half flowers with sparkles in their middles. The second toe is chevron. The third is another half flower. The fourth and pinky is just a half circle in one color.
Sorry I don't have pictures of the steps. Next time I'll try to have some.
I hope you enjoyed this post!
Until next time...
One of my newest ones is photography. I had pushed the little point and shoot cameras to the limits. Guess what I got for an early birthday present!!! The new mirror less Sony A5000! Thank you tax free weekend! And a big thank you to my wonderful parents.
So I have barely scratched the surface of what it can do. And I am completely pleased with it. It is something I can grow into.


My mother and I were put in charge of VBS crafts this past year. The theme was Knights and Fair Maidens. My brother came up with this idea. A catapult. We were on a tight budget; so this was a fun, cool, inexpensive, craft.
For this you'll need:
-two wide popsicle sticks
-three rubber bands
-glue dot
-a 1'' dowel rod cut 6'' long
- a bottle cap (metal or plastic will work)


Twist the rubber band crosswise a couple of times.


We used crumpled aluminum foil for rocks. Pull Back And Enjoy!!!
I Hope u enjoyed this post.
Rose

So, here is my latest project. I've been Duck taping!

I love the way the duck tape spruces things up.

I even covered my flash drive!
The ideas are endless on what you can do with duck tape. Page protectors, punch holes in the sides where the holes were before. Instant coolness!
The cheap folders that don't have holes in the edges, extend the duck tape past the edge and punch holes in it. Or just cover it like I did.
Put it on notebook edges or on paper to reinforce the holes.
Hope you like the post.
Rose
Illuminating Hope 5k run
My First Run
( I walked it) :)


My First Run
( I walked it) :)

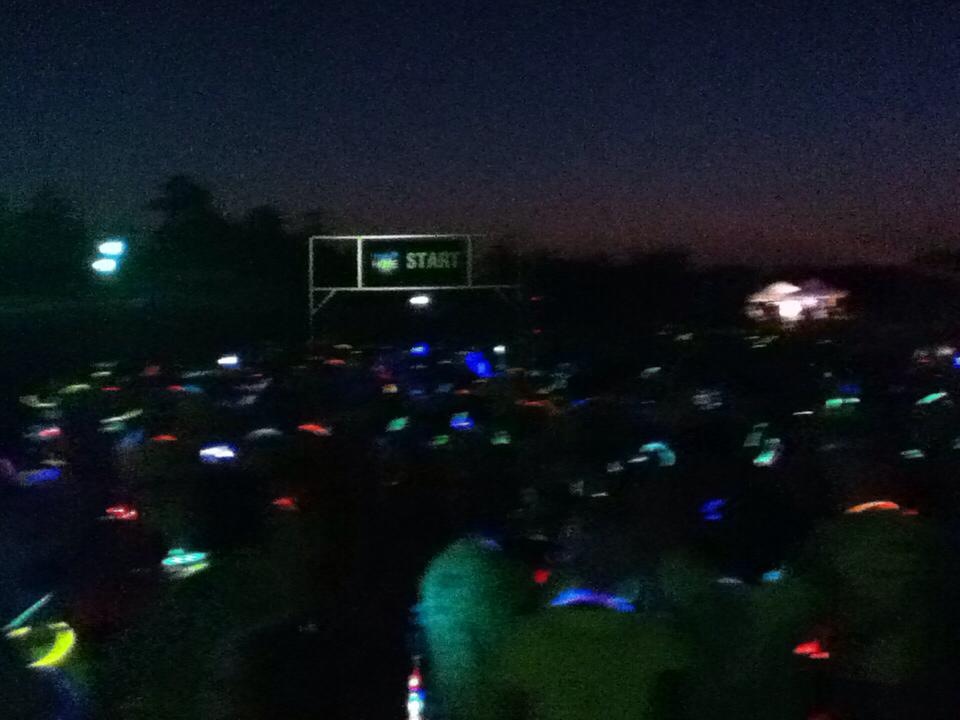
We went to Ihop afterward at 11:00 pm. My cousin couldn't take anymore. :) We went in all decked out in our glow and neon stuff. The looks we got!:)

The race was hosted by my aunt's church. It might become an annual thing! It was a fundraiser for One by One Missions, for the children of Nicaragua.
I had a wonderful time. Maybe next year I will run in it. ;)


These light balls are gorgeous in the dark. They're easy too make too!
What u need:
Ribbon, scissors, tape( I used white ducked tape), tulle, any type of sparkly/iridescent clear material.(I used iridescent paper ribbon.), a battery powered light strand.(I got mine from The Christmas Tree Shop.) it can't be the regular Christmas lights. They are too big and bulky. The ones I used are wire with the lights just barely sticking off .

Start by cutting a few pieces of tape. Unless u have help it is difficult to cut these later. :)
The battery box is the base and the weight. MAKE SURE YOU PUT THE BATTERIES IN BEFORE U START!
Loosely make loops with wire and tape them on the box.


Cut the tulle and iridescent material into rectangles.

Next start tapping them to the box. Be careful not to mash the lights. Use the ribbon and tie it around the middle. Use it instead of the tape on some of them it gives you less bulk in the middle.


Make sure to leave the ribbon long on one side. That is what u hang it by. Add as much tulle and paper ribbon as u need to make it as fluffy and full as u like.


It's done!
hi! I am so excited to start blogging!


